Hi friends, I hope that you are well today! If you are like me, then you try to keep up with the latest tech trends, especially here in the Roanoke Valley. Today, I would like to share some insights to the new Windows 10 operating system, as Microsoft just released an anniversary update to their latest system, I’m going to share some great tips and insights about it to help keep your PC in tip top shape!
Let’s Start!
Make Cortana’s ears perk up
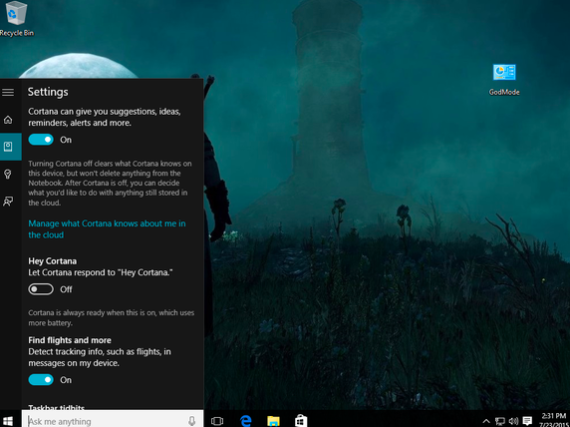
Cortana’s finally made the leap to the PC in Windows 10, assuming control of the operating system’s search functions and dishing out just as much sass as the Windows Phone version. But by default, she doesn’t listen for your commands.
If you’d like to be able to just bark commands at your PC, open Cortana by clicking the search field in the taskbar and select the Notebook icon in the left-side options pane. Select Settings from the list, then simply enable the “Let Cortana respond when you say ‘Hey Cortana’” option. You’ll need an active microphone for this to work, of course.
While you’re poking around Cortana’s options, you can dive into the Notebook menu to fine-tune exactly what personal data Microsoft’s digital assistant can access. Remember, however, that like Google Now, Cortana’s effectiveness is directly related to how much she knows about you.
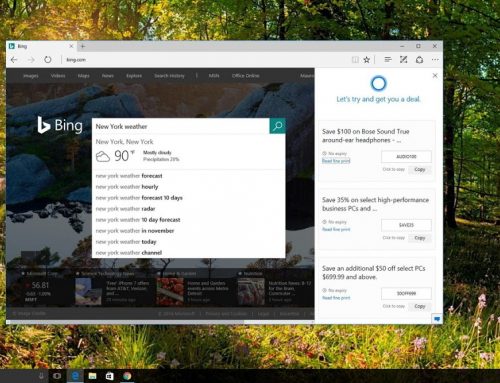
Powerful natural language search
Cortana can handle all sorts of commands you issue using natural language, such as playing music, creating reminders, or showing you the weather, but the most powerful use of her natural language abilities revolves around basic search capabilities. You can give Cortana basic commands like “Find pictures from June” or “Find documents with Windows 10” and she’ll apply the appropriate filters, then scour your local files and OneDrive storage for results.
Customize your Start menu
Don’t forget to make the Start menu your own. If you appreciate the blend of the traditional interface with the Live Tiles, note that you can right-click on any tile and select Resize to alter the tile’s dimensions—just like on the Windows 8 Start screen.
Alternatively, if you loathe Live Tiles and the Metro interface with the ferocity of a thousand suns, you can also right-click on every one of the defaults in the Start menu and select Uninstall to wipe them from your system. (Or simply Unpin from Start if you’d rather hide than eradicate them.) Repopulate them with desktop software of your choosing—you can right-click any app or program and select Pin to Start—and before you know it, it’ll be kind-of-sort-of like the Windows 7 Start menu all over again.
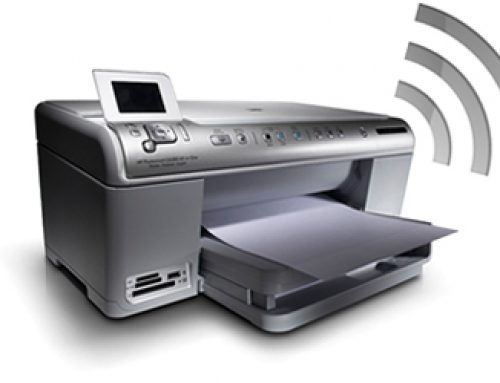
Find My Device
Windows ain’t just on desktops anymore, and a handy new feature released in the Windows 10 November Update acknowledges that: Find My Device, which does exactly what you’d think. (Though sadly, it doesn’t offer remote lock or wipe capabilities yet.)
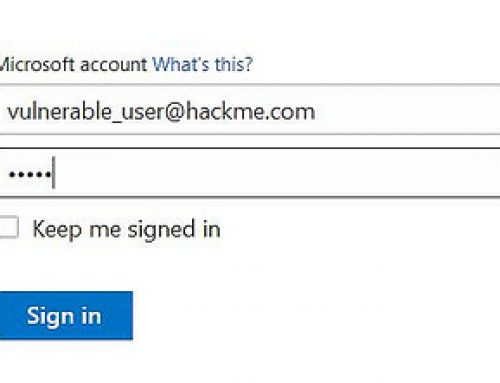
To active it, head to Start > Update & Security > Find My Device, then click the big Change button and enable the “Save my device’s location periodically” option when prompted. Once it’s on, you can log into your Microsoft account and head to account.microsoft.com/devices to see the last known location of your Windows 10 gizmo.
Install Windows Store apps elsewhere
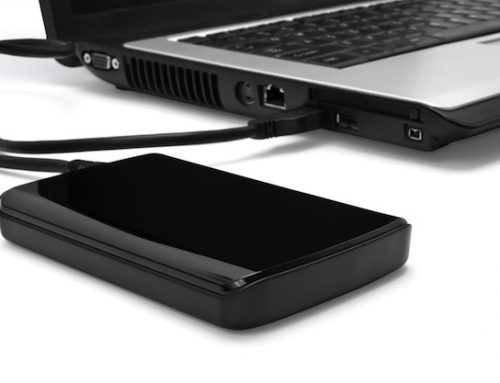
The Windows 10 November Update fixes another longstanding frustration for both mobile and desktop users: The inability to install Windows Store apps to external storage. Ever since the Windows Store debuted in Windows 8, it’s forced you to install apps to your device’s primary hard drive—a sore point for Windows tablet owners, or users who run Windows off a small SSD boot drive.
No more! After you’ve installed the Windows 10 November Update, you can save apps to external storage or secondary drives by heading to Start > Settings > System > Storage after you’ve connected the storage to your PC, be it a thumb drive or SD card. From there, click the drop-down menu under “New apps will save to” and select the external storage drive you want to use.
Turn off File Explorer’s Quick Access view
When you open File Explorer in Windows 10, it defaults to a new Quick Access view that shows your most frequently accessed folders and recently viewed files. I love it, personally, but if you’d rather File Explorer defaulted to the “This PC” view found in Windows 8, here’s how.
Open File Explorer, then select View > Options from the Ribbon. A Folder Options window will open. Click the “Open File Explorer” drop-down menu at top, then select the “This PC” option. Click OK and you’re done!
Cast videos to TVs and more
No Chromecast? No problem, at least after Windows 10’s November update, which enabled the Edge browser to cast media to Miracast- or DLNA-equipped devices with just a few clicks—though beware that the implementation has some quirks, and won’t work with DRM-protected streams from Netflix, Hulu, and the like. YouTube works just fine though!
To beam a video to your TV, open it in Edge, then click on the three horizontal dots in the upper-right corner of the browser. A drop-down menu appears; click Cast media to device. After a moment, a black window with the names of all nearby Miracast/DLNA devices will appear. Simply choose the one you want and after a few minutes, it should begin to play.
Should. In our tests, casting to a Roku box proved tricky, while Vimeo delivered more consistent results than casting YouTube videos. Regardless, it’s a nifty feature. Try it out!
Move open windows between virtual desktops
Virtual desktops let you segregate your open apps into discrete areas—literally multiple, virtualized versions of your PC’s desktops. Switching between open virtual desktops is easy enough using Task View (the button that looks like two panels, one over the other, in the taskbard) or Windows key + Tab, while Alt + Tabjumps you between open apps across all desktops. There’s also a way to actually shift an open app from one virtual desktop to another if you’d like to shuffle things around.
First, head to the virtual desktop housing the app you’d like to move to another virtual desktop, then open the Task View interface. Just click-and-hold on the app you’d like to move, then drag it to the desired virtual desktop at the bottom of the screen. You can also drag it to the “+New Desktop” option in the lower-right corner to create a new virtual desktop for the app.
Upgrading Your Computer
If you don’t have Windows 10, we can help you install it on your current system. Additionally, we can help you with need to transfer your files from an older system to new one with Windows 10. Many people here in the Roanoke Valley are choosing to upgrade to Windows 10 and using us to help get them to a seamless integration!
We are happy to help you out! We offer onsite technicians that can come to your home or business and update or install your Windows 10 operating system!